A Step-by-Step Guide to Adding a Custom Calendar to Your Notion Journal for Better Tracking
Updated: January 19, 2026
Integrating a custom calendar into your Notion workspace can supercharge your productivity, helping you organize tasks, track profits/losses, and focus on active months of activity. This guide walks you through adding a custom calendar to your Notion journal step-by-step.
If you don't have an account, read this guide to set up your account.
Step 1: Create a New Calendar #
After linking your journal, click the Calendar button on the journal card.
Once on the calendar page, follow these steps:
- Click "Add Calendar": This opens a simple two-step form.

Step 1.1: Enter Basic Calendar Details #
- Calendar Name: Provide a name (e.g., "My Calendar").
- Journal: Should already be selected. It's where this calendar will be stored.
- Notion Database: Choose the Notion database you want to link.

Step 1.2: Map Database Columns #
- Date Column: Pick the date column from your Notion database. Note: This column should be of type "Date" in your Notion database.
- Value Column: Select the value column to reflect numerical data on your calendar (e.g., "Profit/Loss", "Risk Reward"). Note: This column should be of type "Number" in your Notion database.
- Click "Create Calendar". You'll be taken straight to this calendar's settings page, where you can review the live preview and adjust how values are displayed.
Step 2: Customize Display Settings #
Each custom calendar has its own display settings. After creating a calendar, you land on this page automatically. You can also open it anytime from the settings icon on the calendar card.
The form is fully editable from the start — adjust what you need and click Save Settings. A live preview on the right shows exactly how the calendar will look in Notion.
Default settings for new calendars #
New calendars start with these defaults (you can change any of them before saving):
| Setting | Default |
|---|---|
| Value name | P/L |
| Label | (none) |
| Label position | Prefix |
| Decimal places | 1 |
| Show active months only | On |
| Show weekends | Off |
| Show monthly stats | On |
Settings you can customize #
- Value Name: The name shown at the top right of the calendar (e.g., "P/L", "Profit", "Total").
- Label Text: A symbol or unit next to values (e.g., "$", "R", "%").
- Label Position: Whether the label appears before (prefix) or after (suffix) the value.
- Decimal Places: How many decimal places to show (0–4).
- Show Active Months Only: When enabled, the calendar only navigates between months that have trading activity.
- Show Weekends: When enabled, Saturday and Sunday columns appear on the calendar.
- Show Monthly Stats: Shows stats like win rate, risk/reward, and profit factor for the current month.
- Filters: Optionally filter which Notion rows are included in the calendar.

Step 3: Copy and Embed the Calendar Link #
Your new calendar appears as a card showing:
- The Calendar Name.
- The linked Notion Database Name.
- A Settings icon to open display settings.
- A Copy icon for the embed link.

You can also copy the embed URL from the top of the calendar settings page.
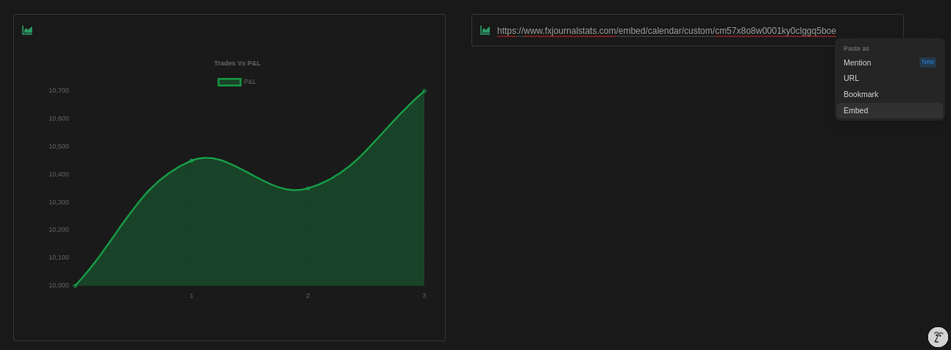
Click Copy, then paste the link into your Notion page as an embed. Your calendar will display inside Notion with the settings you saved.
Why Use a Custom Calendar in Notion? #
Custom calendars in Notion streamline task management, let you visualize metrics like profit/loss by day, and make it easy to focus on months with real trading activity. By following this guide, you can create calendars tailored to different databases or metrics and embed them wherever you need them in Notion.